How Acura develop from 2D to 3D in Revit!
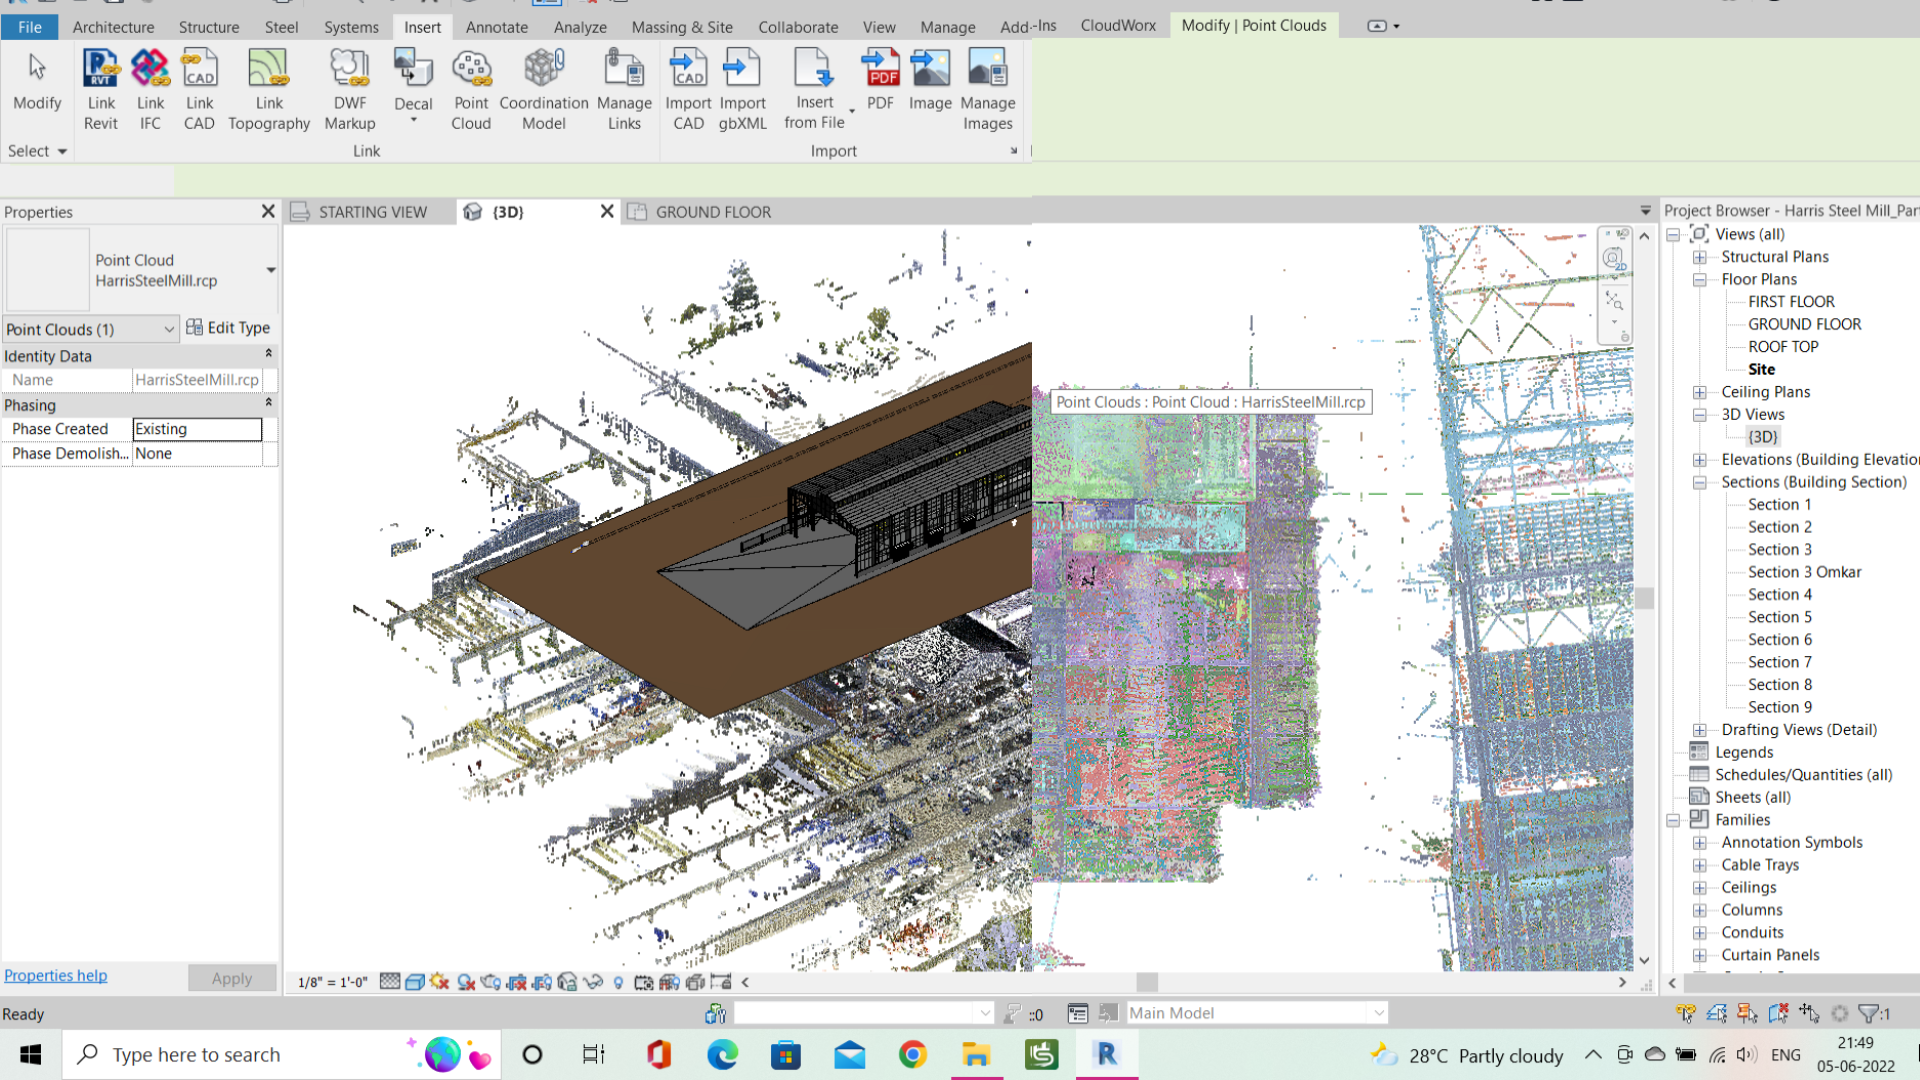
Transitioning a Revit project from 2D to 3D entails moving from standard 2D drawing methods to building a thorough and precise 3D model of your concept. Revit is a Building Information Modelling (BIM) programme that allows for the construction and maintenance of 3D models that include real-world data integrated in the parts. Here’s a step-by-step tutorial on transitioning from 2D to 3D in Revit:
Preparation and setup:
Create a new Revit project or work with an existing one.
Make sure your 2D drawings (floor plans, elevations, and sections) are ready for reference.
Import Existing 2D Drawings:
Import existing 2D drawings into Revit. You can accomplish this by linking or importing CAD files (DWG, DXF) or image files (JPEG, PNG) as underlays.
Create Building Elements:
Start by creating the basic building elements like walls, floors, roofs, doors, windows, and structural components.
Use the 2D drawings as a guide to accurately place these elements in 3D space.
Modeling in 3D:
Switch to 3D views to start building the model in 3D space.
Extrude walls to their appropriate heights, create roofs by defining slopes and shapes, and add thickness to floors.
Modify and Refine:
Revit allows you to parametrically adjust your elements. Use tools like the “Edit Profile” for walls, roofs, and floors to modify their shapes.
Fine-tune element dimensions, adjust openings, and add details to make the model accurate.
Family Creation:
Use Revit’s family editor to create custom components if needed. Families can be anything from furniture and fixtures to complex structural elements.
Add Detail and Materials:
Use appropriate materials to give your elements a genuine appearance. You can use the built-in library or develop your own resources.
Stairs, railings, mouldings, and other architectural characteristics should be included.
Work with Points of View:
From the 3D model, create numerous plan views, elevations, and sections. As you make changes to the 3D model, these views will immediately update.
Documentation and annotation:
To convey critical information, annotate your views using dimensions, tags, text, and symbols.
produce sheets to organise your thoughts and produce construction documents. Collaboration and
data sharing:
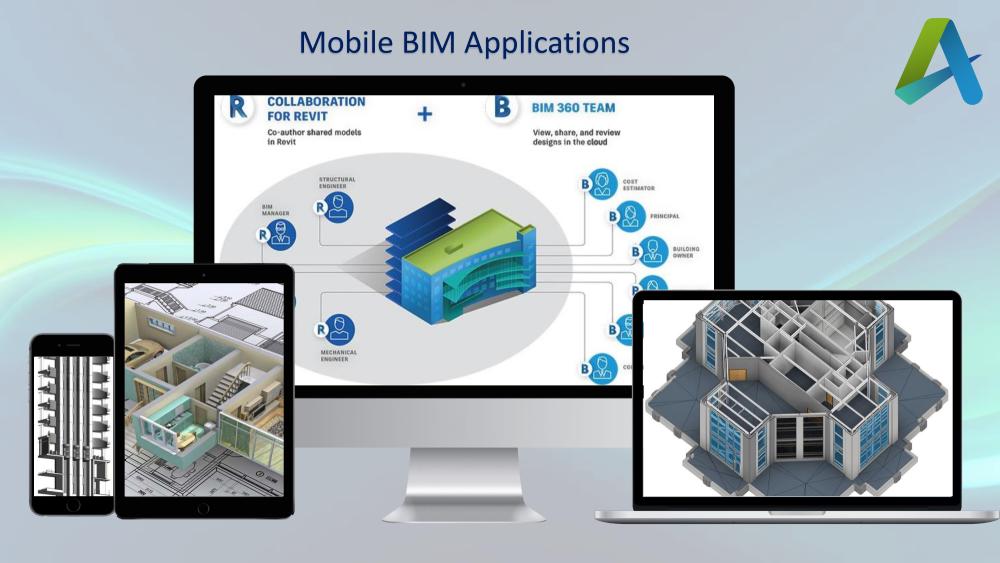
Revit allows numerous team members to collaborate on the same project at the same time. To collaborate effectively, use work-sharing features.
Export your 3D model to another format, such as DWG or IFC, to share with consultants or contractors who do not use Revit.
Render and Visualise:
Take advantage of Revit’s rendering features to create realistic representations of your 3D model. This is useful for presentations as well as marketing materials.
BIM Data and Analysis:
Because Revit is BIM software, it can store a large amount of data within the model pieces. Use this information for quantity take-offs, energy analysis, conflict detection, and other purposes.
Remember that moving from 2D to 3D necessitates a shift in perspective and workflow. While it may appear more complicated at first, working in a full 3D environment such as Revit may dramatically improve the accuracy, efficiency, and overall quality of your project.


